If you’ve never installed new countertops before, the process can feel weirdly mysterious. People imagine dust, chaos, and a week of living off takeout while strangers measure things.
In reality, a proper countertop install is pretty straightforward. There are a few key steps, a couple things you need to do to prep, and a few common mistakes that can slow things down. Here’s how it normally goes, start to finish.
Step 1: Choose Your Stone (and Make a Few Key Decisions)
This is the fun part. You pick your material (granite or quartz), colour, finish, and the overall look you want.
A few decisions usually happen here too:
• Edge style (clean and modern vs more detailed)
• Sink type (undermount vs drop-in)
• Any extras (waterfall edges, full-height backsplash, thicker edges)
If you want the final result to look intentional, don’t choose stone from a tiny sample only. Lighting changes everything. Seeing full slabs or large samples is the difference between “perfect” and “why does it look green now?”
Step 2: Measure Your Space (Templating)
Once your cabinets are installed and level, measurements get taken. Many shops use laser templating for accuracy, especially when there are angles, walls that aren’t perfectly straight, or large islands.
This step matters more than people realize because countertops are not forgiving. If something is off by even a little, you’ll notice it every day.
Important: templating usually happens after cabinets are in place. If cabinets aren’t finished yet, it’s too early.
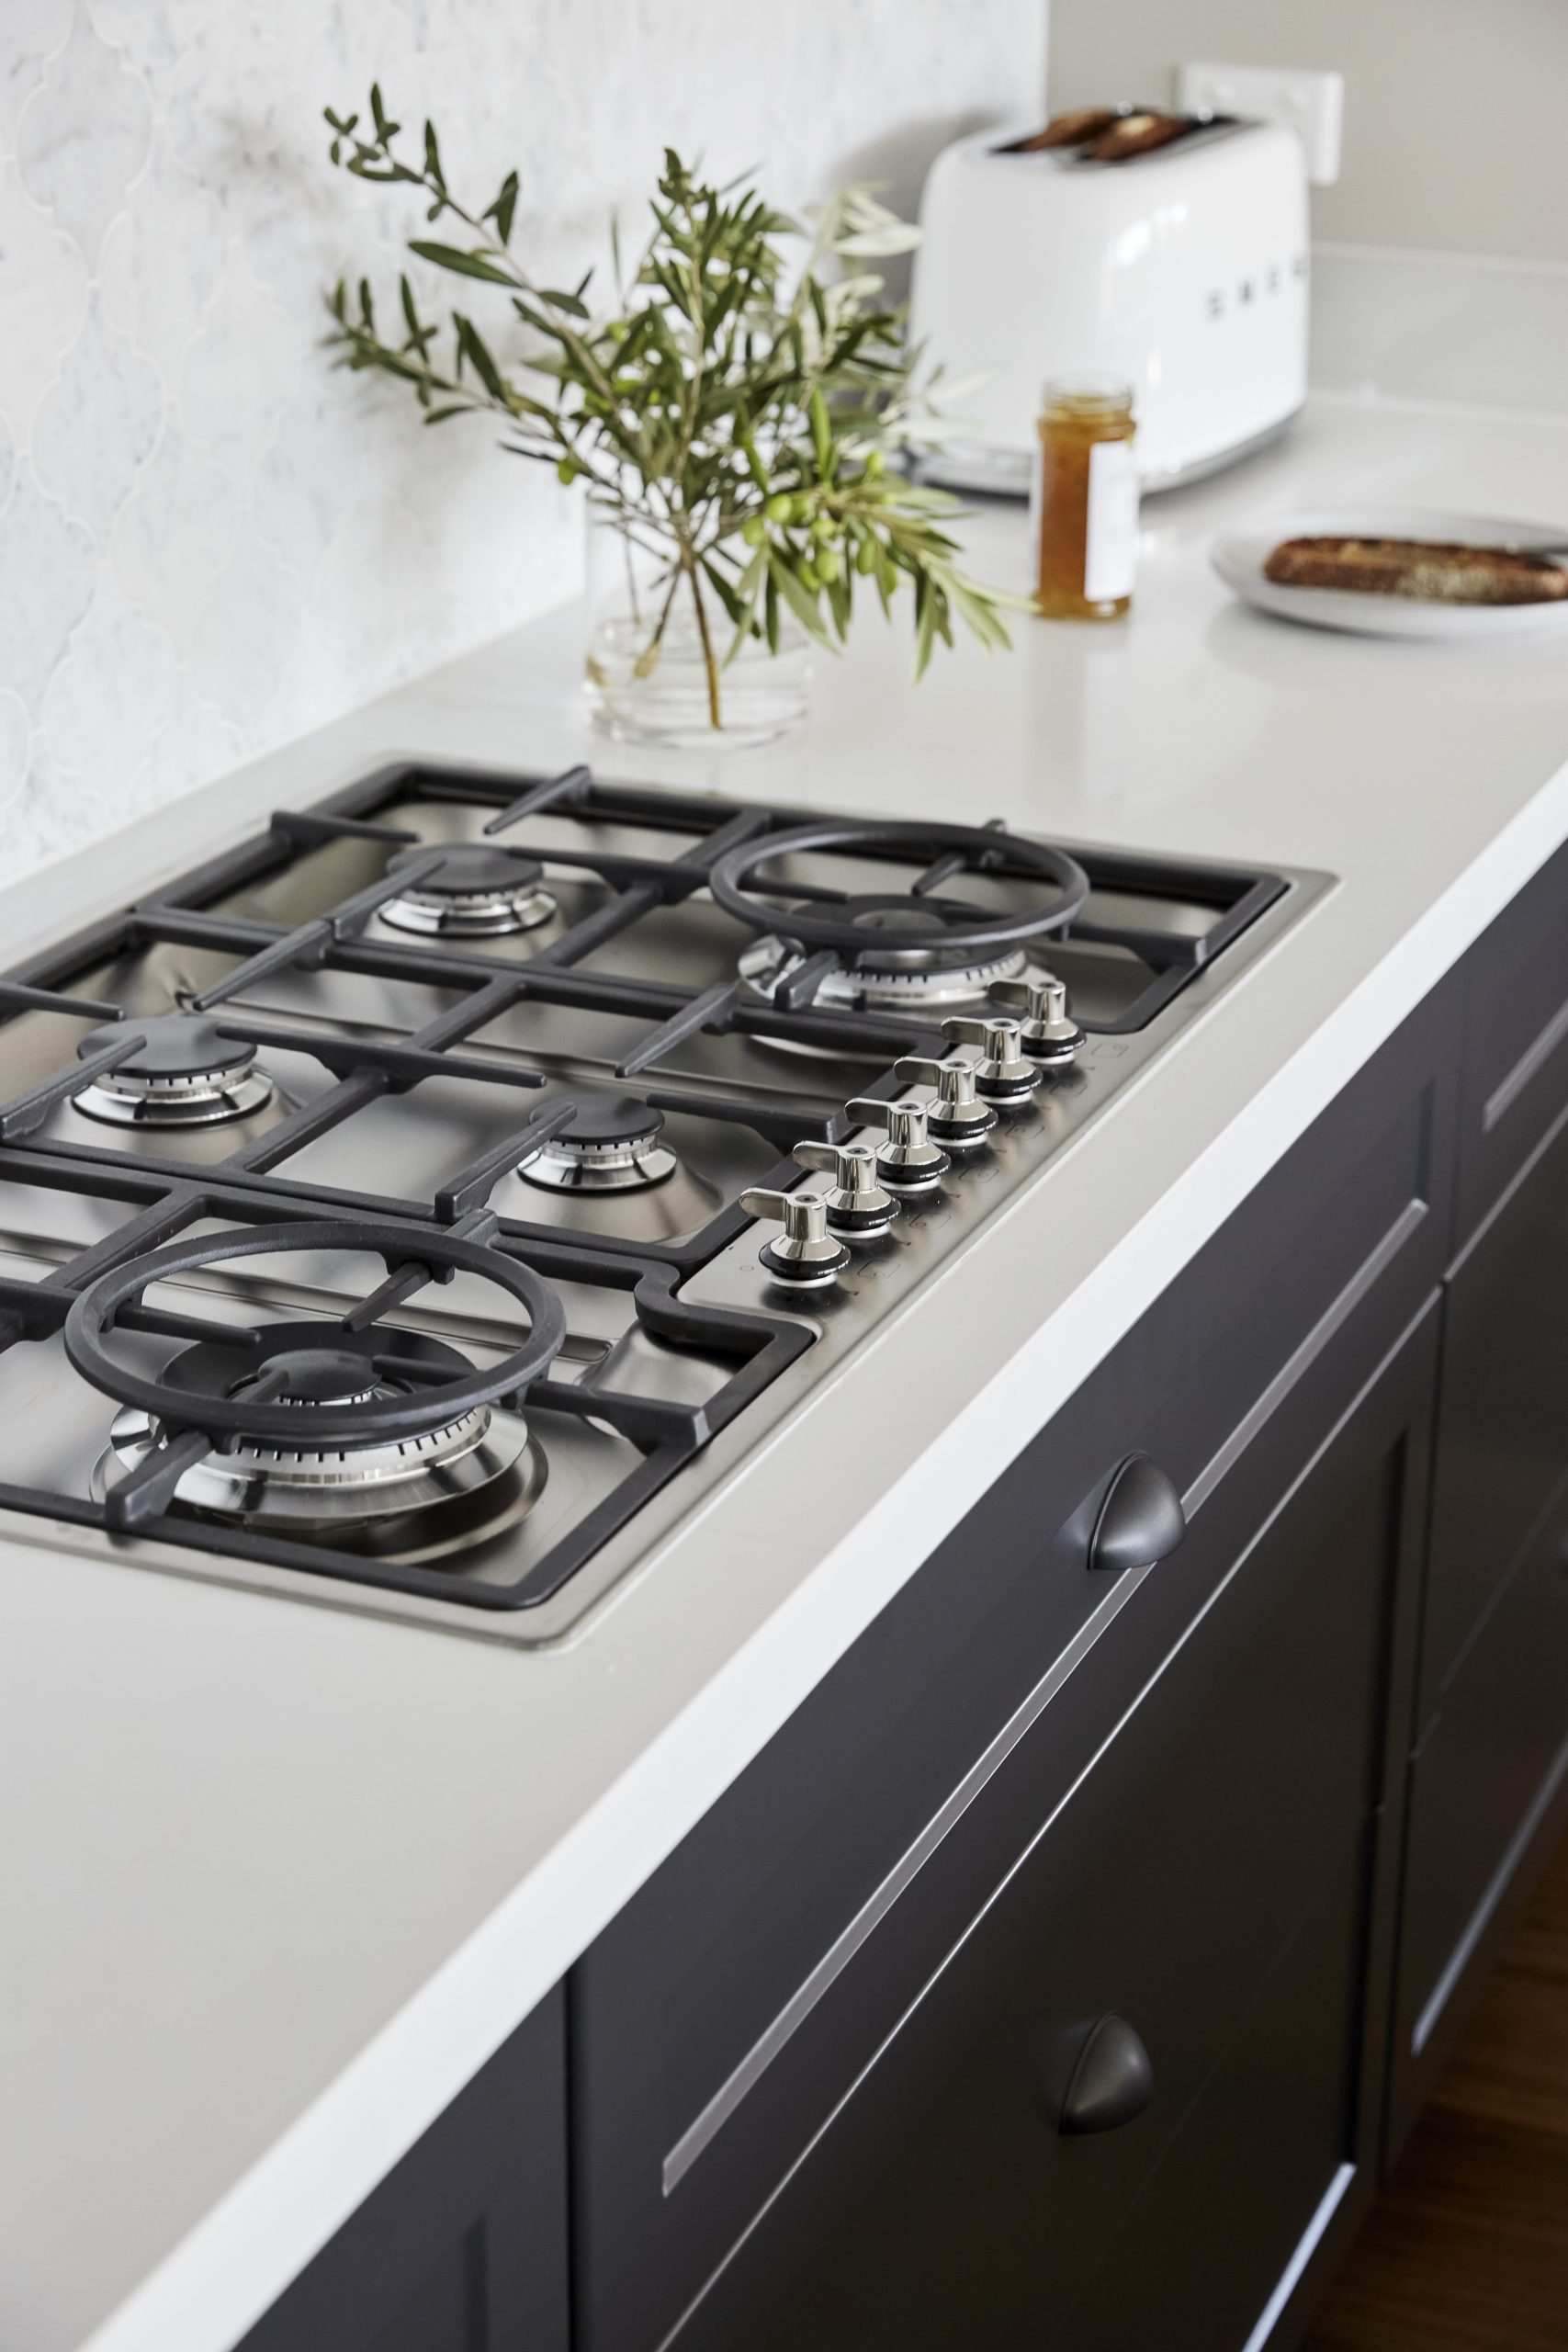
Step 3: Fabrication (Where Your Slab Becomes Your Countertop)
This is where the stone gets cut and finished based on your template:
• Cuts are made for sinks and cooktops
• Edges are shaped and polished
• Seams are planned to be as clean and discreet as possible
• Pieces are prepped for installation
For quartz, the focus is clean lines and pattern consistency.
For granite, the focus is placing the best movement and natural features where they’ll look best.
Step 4: Getting Your Home Ready (What You Need to Do)
Install day goes smoother when the space is ready. Before the crew arrives:
• Clear everything off your current counters
• Move small appliances (coffee makers, toaster, etc.)
• Empty the cabinet under the sink (access is needed)
• Make a path for the installers to carry stone safely
• Keep pets and kids out of the work area
If you’re keeping your existing backsplash, the installers will be extra careful, but it’s still worth expecting minor touch-ups in some situations. Homes are never as square as they pretend to be.
Step 5: Removal (If You’re Replacing Existing Countertops)
If old countertops need to come out, removal happens first. This can include removing sinks, disconnecting plumbing, and lifting the old surface carefully.
This is also where hidden issues can show up:
• Cabinets not level
• Water damage around the sink
• Walls that aren’t straight
• Old DIY surprises
If something needs fixing, it’s better to catch it now than force the new countertop to “fit anyway.”
Step 6: Installation Day (The Part Everyone Thinks Takes Forever)
On install day, the countertops are carried in and set in place. The crew will:
• Dry-fit the pieces
• Level and align everything
• Secure the countertop
• Finish seams if there are multiple pieces
• Install undermount sinks if included (depending on your package)
Most installs are done in a day. Larger kitchens and waterfall islands can take longer, but it’s still usually not a multi-day disaster.
Step 7: Final Details + When You Can Use It
Once everything is set:
• Seams are cleaned and finished
• Silicone/caulking is applied where needed
• The surface is wiped down and inspected
If an undermount sink is installed, there may be a short cure period before it’s ready for full use. Your installer will tell you what’s safe and when.
How Long Does the Whole Process Take?
The timeline depends on how quickly you pick your stone and how busy the shop is, but typically:
• Selection: same day to a few days
• Templating: once cabinets are installed and level
• Fabrication: usually 1–3 weeks (varies by workload and complexity)
• Installation: typically one day
Quick Tips That Save You Headaches
• Don’t template before cabinets are installed and level.
• Confirm your sink and faucet choices early (last-minute changes cause delays).
• Expect seams on longer runs and large islands, they’re normal.
• If you choose quartz, take heat seriously: trivets always.
Bottom Line
A countertop install isn’t complicated. It’s a clean sequence: choose → template → fabricate → install → finish. If the space is ready and the decisions are locked in, it’s smooth and fast, and your kitchen instantly looks upgraded.
Your kitchen should match your life, not your mood board.